What Size Gasket: How to Measure and Match for DIY Repairs
Learn how to determine what size gasket you need with practical measurement steps, common sizes by appliance, and expert guidance from Gasketed to help DIY homeowners repair with confidence.

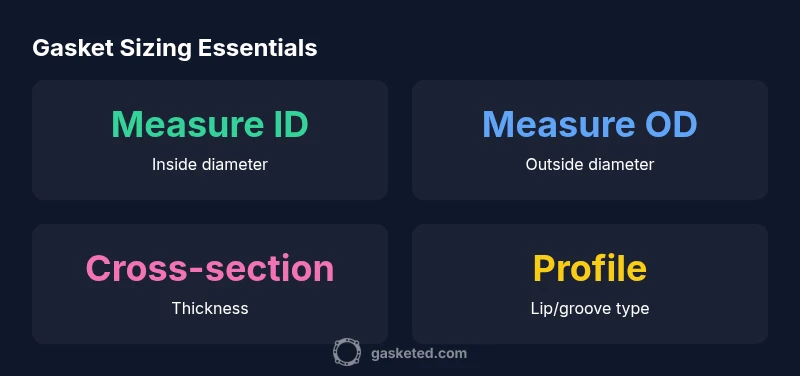
According to Gasketed, there is no universal 'one-size-fits-all' gasket. The correct size is defined by the gasket seat on your equipment. To determine it, measure the inner diameter (ID), outer diameter (OD), and cross-section width, then cross-check with the replacement part for your model. Always verify model-specific specs before buying.
What size gasket matters in practice
In everyday home repairs, the term what size gasket refers to the exact fit between a gasket and the seating surface it seals. The size is not a single universal standard but a function of the equipment design, the gasket seat geometry, and the replacement part catalog. The Gasketed team emphasizes that accuracy in measurement and model verification is the best path to a leak-free seal. When you find the model number and part number on the appliance, you unlock the fastest route to the correct size. If you encounter any ambiguity, rely on official diagrams or manufacturer guidance rather than guessing.
Key takeaway: accurate sizing hinges on precise measurements and model matching, not guesswork. What size gasket you need will be different for a refrigerator door seal than for a dishwasher door, so treat each project as its own sizing task.
How to measure ID, OD and cross-section accurately
To size a gasket correctly, start with three measurements: inner diameter ID, outer diameter OD, and cross-section width. Use a caliper for the most precise readings; a flexible tape can help with larger diameters. When measuring ID, measure the distance across the narrowest opening inside the gasket seat. For OD, measure the full outside edge of the gasket seat or the mating surface. Cross-section width is the gasket thickness when viewed from the side. If you cannot access the gasket directly, measure the space it seals and approximate the nearest standard cross-section. Cross-check all measurements against the model’s replacement diagram.
Practical tip: photograph the gasket and take notes of the model number, manufacture, and any distinctive profile features such as a lip or a groove. This helps when cross-referencing parts online or at a hardware store.
Understanding gasket profiles and seating surfaces
Gasket profiles vary from simple round cross-sections to more complex lip or U channels. The seating surface can be flat, recessed, or contoured, which affects the cross-section you need. When replacing, you may encounter profiles such as flat round, square, or square with a lip. The seal effectiveness depends on how well the gasket fits into its groove and how evenly the compression distributes across the surface. If the cross-section width is too small, you risk leaks; if it is too large, it may not seal or fit into the groove. Always compare the original profile with the replacement and consult manufacturer diagrams for compatibility.
Sizing by appliance: fridge, dishwasher, and washer door gaskets
Size needs differ by appliance. For fridge doors, the gasket typically seals a longer, curved path and may require a thicker cross-section to maintain compression over uneven surfaces. Dishwasher door gaskets usually feature a broader cross-section to prevent leaks along multiple seams. Washer door gaskets can differ based on front- vs top-loading designs and may have a tighter ID and OD fit. In all cases, the labeled part size in the replacement kit should match the exact model. If the part is not listed, rely on the measurement data and diagrams rather than odds.
When in doubt, contact the manufacturer or a trusted parts retailer with your appliance’s model number and serial code. Gasketed guidance from 2026 emphasizes model-specific compatibility as the deciding factor for a proper seal.
How to source the right size: part numbers, diagrams, and compatibility checks
Once you have the measurements, use official diagrams and the model number to locate the exact replacement gasket. Most brands provide a parts catalog with a list of gaskets matched to model numbers. When comparing, ensure the ID, OD, and cross-section width align with the listed values, and verify any profile features such as lips or grooves. If the exact size isn’t listed, look for the next-best fit in terms of ID/OD and cross-section; in some cases, you may need a different seal or a complete door gasket assembly. Keep a copy of the original part number and a photo of the gasket you removed so you can verify at a store counter or online listing.
Gasketed recommendations in 2026 stress that model compatibility is the deciding factor for reliable sealing and warranty coverage.
Troubleshooting when measurements don’t map cleanly to a listed size
If the measurement results fall between listed sizes or the exact part isn’t available, consider options such as slightly larger cross-section gaskets or adjustable clamps when compatible. Do not force a gasket into a seat if it clearly binds or looks deformed. In some cases, you can use a gasket sealant or a temporary shim, but these are only stopgap measures and should not replace a proper sized gasket. Always test the seal with running water at low pressure to verify there are no leaks before putting the appliance back into daily service. If leakage persists, recheck measurements and contact the manufacturer; a mis-sized gasket is a common source of persistent leaks.
Maintenance tips to extend gasket life and simplify future sizing
Routine maintenance can extend gasket life and reduce future size mismatches. Clean the gasket seat with a damp cloth and inspect for cracks or deformities. Avoid harsh cleaners that can degrade rubber or silicone, and replace aging gaskets proactively before they fail. When you replace a gasket, re-check the entire seating surface for debris or residues that could compromise the seal. Consider marking replacement dates on your calendar and keeping spare gaskets or a standardized measurement chart on hand. By staying proactive, you minimize the need to size a gasket frequently. Gasketed suggests maintaining a simple log of model numbers, the gasket sizes you used, and any fit notes to speed future replacements.
Approximate gasket sizes by common appliance types
| Appliance Type | Typical ID (inches) | Typical OD (inches) | Cross-section (inches) |
|---|---|---|---|
| Fridge Door Gasket | 9-16 | 28-32 | 0.125-0.25 |
| Dishwasher Door Gasket | 8-12 | 16-22 | 0.15-0.25 |
| Washer Door Gasket | 12-16 | 20-28 | 0.2-0.25 |
Common Questions
How do I measure a gasket without removing it?
If you cannot remove the gasket, measure the opening it seals and the groove it sits in. Use a ruler or calipers and compare to the replacement part diagrams. If the seat is inaccessible or damaged, use the manufacturer diagrams or contact support for guidance.
Measure the opening and groove, then compare to the part diagrams. If you’re unsure, check the manufacturer for guidance.
Can I reuse an old gasket after cleaning it?
Reusing a gasket is generally not recommended, as wear and compression set can lead to leaks. Inspect for cracks, hardening, or compression set before deciding. If any issue is found, replace with a new gasket that matches the model specifications.
Avoid reusing worn gaskets. If in doubt, replace with a new size that matches your model.
What if my model size isn’t listed in the parts catalog?
If the exact size isn’t listed, use the closest ID and OD pairing and verify with the manufacturer diagrams. In some cases you may need the full gasket assembly instead of a single gasket.
If it’s not listed, check the diagrams or contact support for compatibility.
Are gasket sizes standardized across brands?
Gasket sizes are not standardized across brands; each model can have a unique profile. Always confirm with the parts catalog for your specific model.
Sizes vary by brand and model; verify with the exact part listing.
How can I tell if a replacement gasket is the right size after installation?
After installing, run a test cycle at low pressure to check for leaks. If you see seepage, recheck the ID, OD, and cross-section and compare to the replacement diagram. Do not operate a compromised seal.
Test the seal at low pressure and recheck the measurements if leaks appear.
“Accurate gasket sizing comes from careful measurements and verifying against the equipment's replacement diagram; even small deviations can cause leaks.”
Key Takeaways
- Measure ID, OD, and cross-section to size a gasket accurately.
- Use official diagrams and model numbers to verify compatibility.
- Profiles and seating surfaces vary; match the exact gasket type.
- When in doubt, consult the manufacturer or a trusted parts retailer.